- Cover Crops: Plants grown specifically to be tilled back into the soil (like clover or rye).
Spread a generous layer (usually 2-4 inches) of your chosen organic matter over the cleared garden bed. Why is this so amazing?
- Improves Structure: It helps sandy soil hold water and nutrients, and loosens heavy clay soil.
- Adds Nutrients: It slowly releases food for your plants.
- Feeds Soil Life: It encourages beneficial worms and microbes that keep soil healthy.
Want to deepen your compost knowledge? Visit our post on Creating the Perfect Compost.

Step 4: Loosen Up! Give Your Soil Room to Breathe
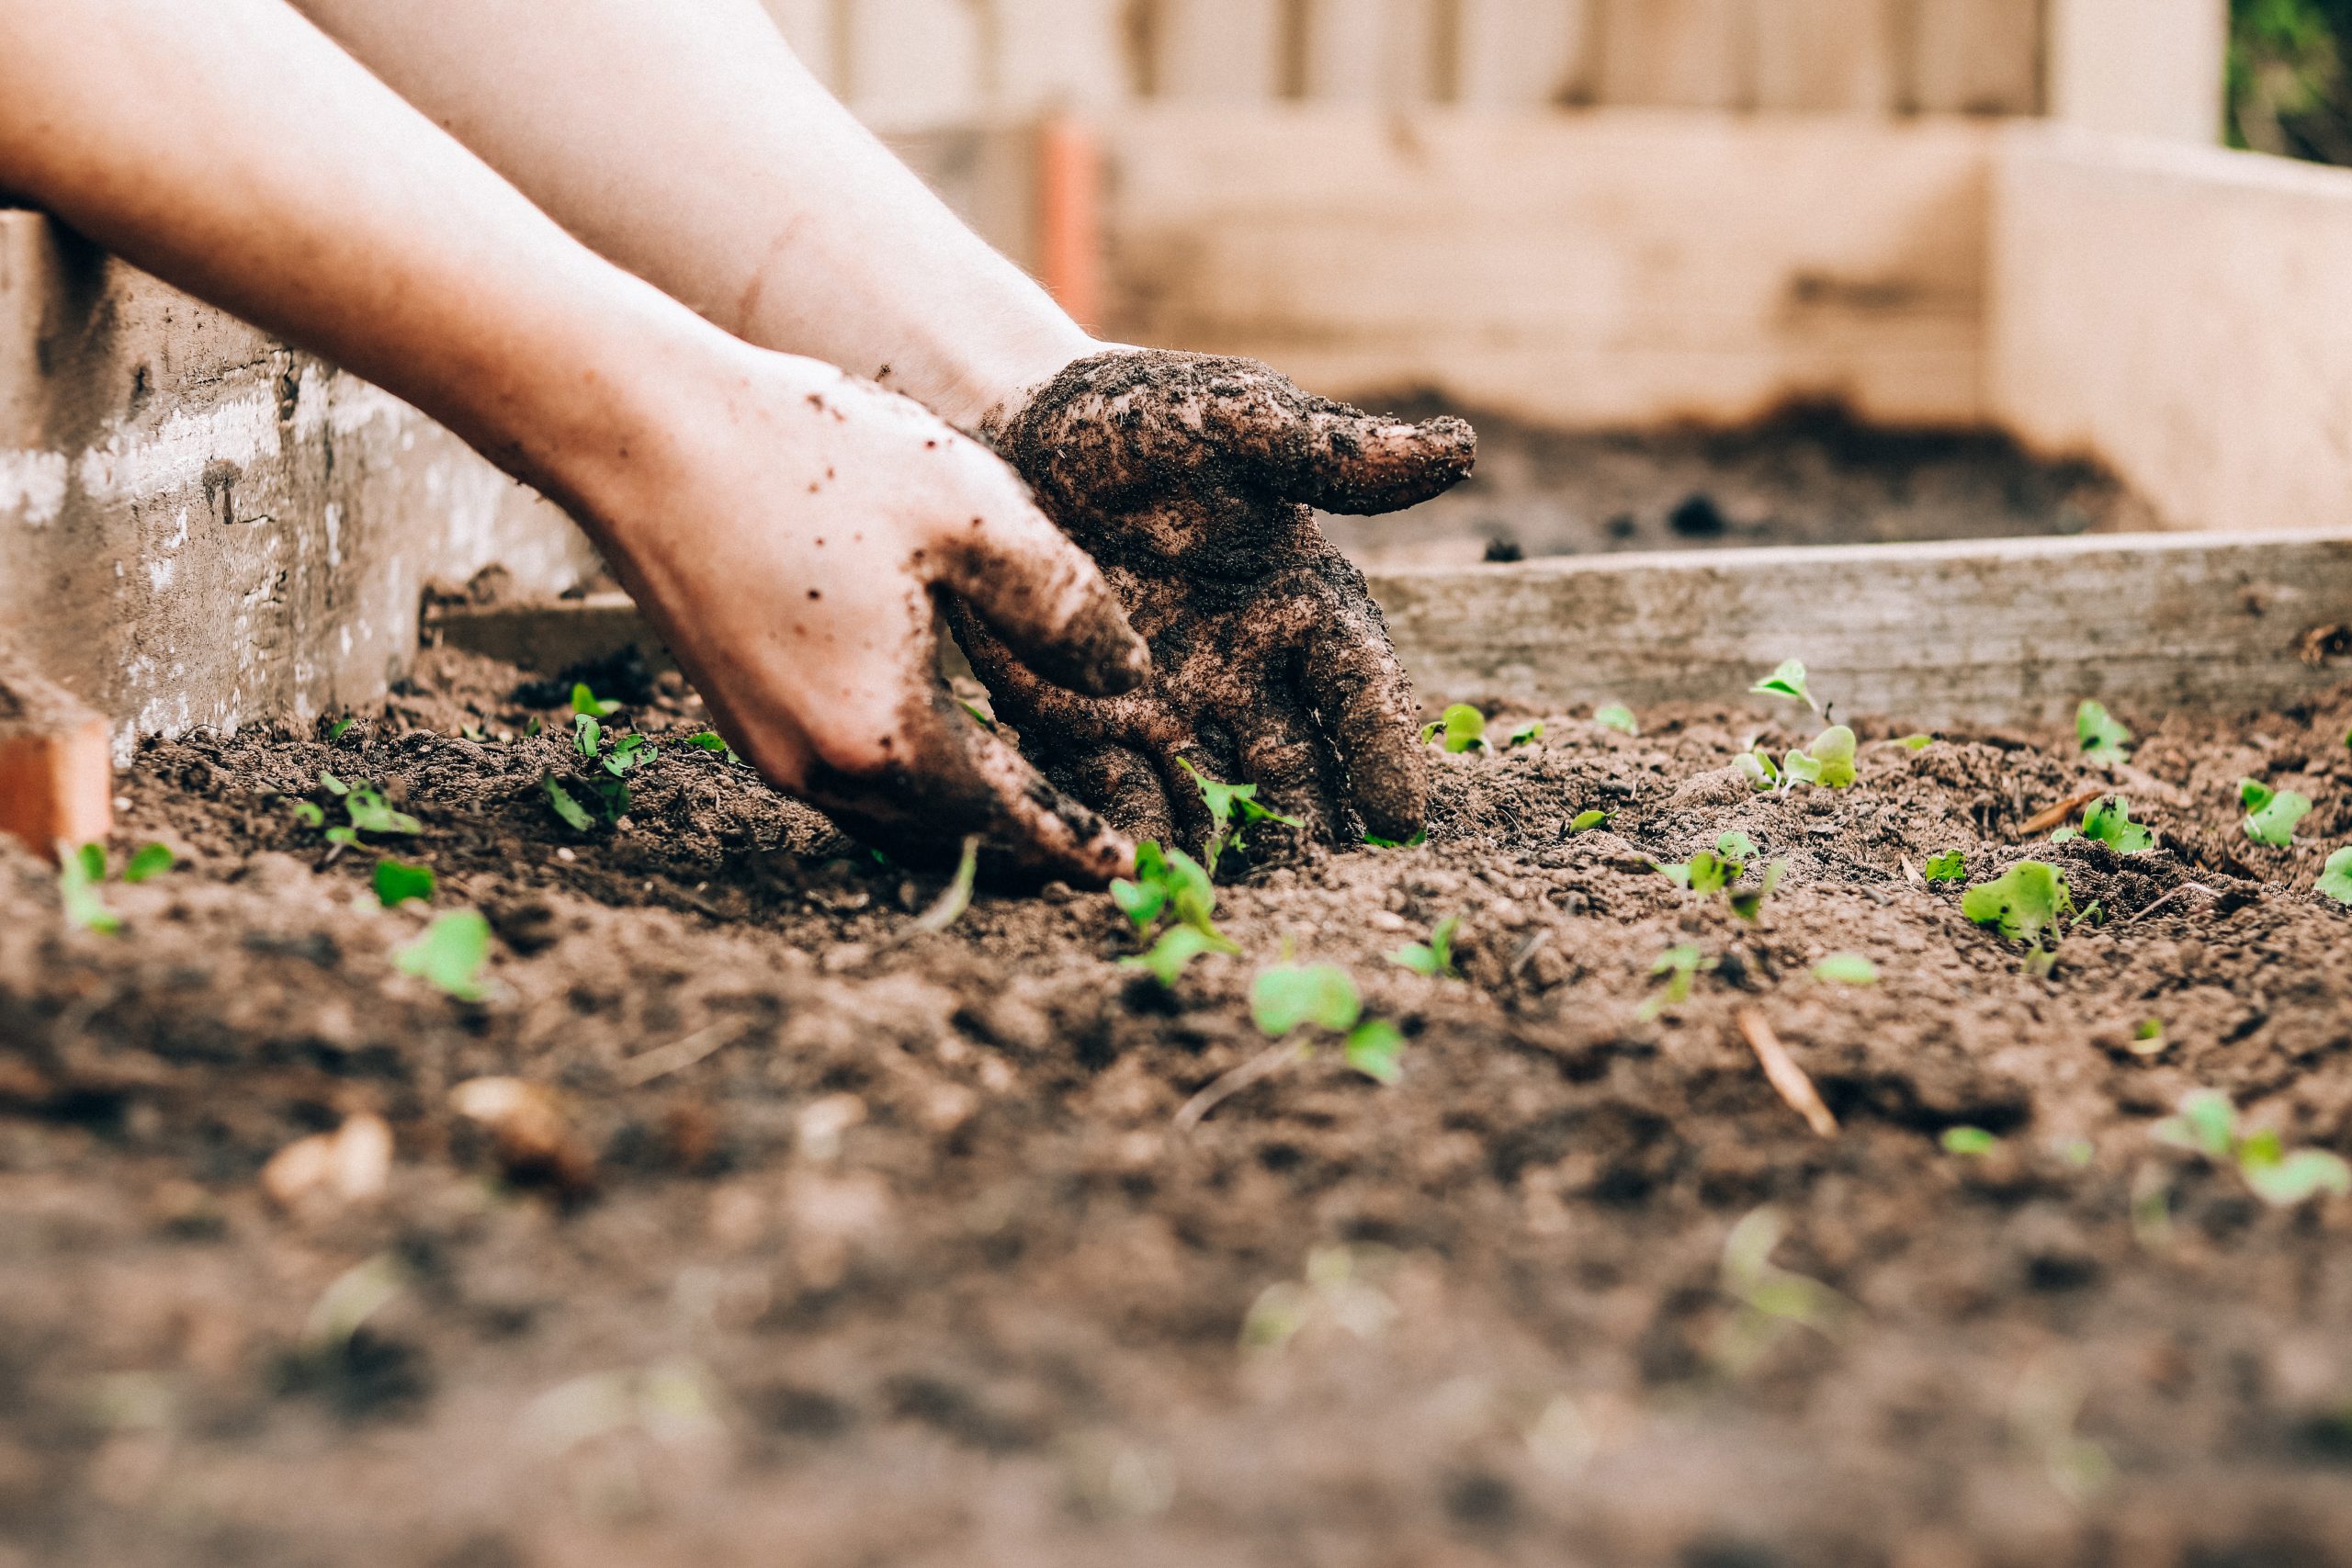
Now it’s time to mix that magical organic matter in and loosen the soil so roots can easily explore! This step, often called **tilling or digging**, helps incorporate your amendments and breaks up compacted ground.
You can use:
- A Spade or Garden Fork: Good old-fashioned muscle power! Turn the soil over, mixing the organic matter into the top 6-12 inches.
- A Rototiller: A machine that does the turning for you, useful for larger areas or very compacted soil.
Important Tip: Avoid working the soil when it’s too wet (it’ll form hard clumps) or too dry (it’ll be rock hard and dusty). Aim for slightly moist, like a wrung-out sponge.
While loosening is good, be careful not to overdo it. Excessive tilling can actually damage the soil’s natural structure and harm beneficial soil organisms over time. Mixing in your amendments thoroughly is the main goal here.
To help you select the right tools to loosen your garden soil, read our Garden Tools Essentials Guide.
Step 5: Feeding Time! Managing Soil Nutrients
Remember that soil test from Step 1? Now’s the time to use its results! Based on the test, you might need to add specific **amendments** to adjust the pH or boost certain nutrients.
- Adjusting pH:
- Too acidic (low pH)? Add lime (limestone).
- Too alkaline (high pH)? Add sulfur or organic matter like peat moss.
- Boosting Nutrients:
- If your soil is low in specific nutrients (like phosphorus or potassium), your test report will recommend what to add. This could be specific organic fertilizers (like bone meal for phosphorus or greensand for potassium) or a balanced organic fertilizer.
Always follow the application rates recommended by your soil test or the product label. It’s like giving your plants vitamins – the right amount is helpful, but too much can be harmful! Gently mix these amendments into the soil along with the organic matter during the tilling/digging step.
Discover more about fertilizers that are perfect for your garden in our post about Understanding and Using Organic Fertilizer.
Step 6: Solving Soil Puzzles! Tackling Tricky Soil Types
While adding organic matter helps *all* soil types, sometimes specific soils need a little extra TLC:
- Heavy Clay Soil: The key is improving drainage and reducing compaction. Lots of compost is essential. You might also consider adding coarse sand (not play sand!) or gypsum. Raised beds are often a great solution for clay soil areas.
- Sandy Soil: The goal is to improve water and nutrient retention. Again, organic matter (especially compost) is your best friend. Adding materials like peat moss or coconut coir can also help hold moisture. Mulching heavily is crucial.
- Silty Soil: This soil benefits from plenty of compost to improve structure and prevent compaction. Avoid walking on it when wet.
No matter your starting point, consistent addition of organic matter year after year is the long-term path to incredible soil. Patience and compost are powerful!
Step 7: The Grand Finale! Final Touches Before Planting
You’re almost there! After mixing everything in, give your soil a final once-over:
- Rake it Smooth: Use a rake to level the surface of the garden bed, breaking up any remaining large clumps and removing any rocks or roots you missed. A smooth surface makes planting easier.
- Let it Rest (Optional but Recommended): If possible, let the prepared bed sit for a few days or even a week or two before planting. This allows the soil structure to settle and the soil life to start recovering.
- Water Gently: Give the bed a gentle watering to help things settle further.
Congratulations! You now have a beautifully prepared garden bed, rich, loose, and ready to welcome your plants!
Not sure what to plant next? Check out our Vegetable Gardening for Beginners.
Your Garden Adventure Awaits!
Wow, garden explorers! You’ve journeyed through the essential steps of creating properly prepared soil for gardening. From playing soil detective with a test kit to clearing the way, adding magical organic matter, loosening things up, balancing nutrients, tackling tricky soils, and smoothing the final surface – you now hold the keys to unlocking incredible garden success!
Remember, starting with amazing soil is the foundation for everything else. Healthy, happy soil leads to healthy, happy plants that burst with flowers and delicious food.
Taking the time to prepare your soil properly isn’t just a chore; it’s an investment in a season filled with growth, beauty, and the thrill of watching your garden thrive.
So, grab your tools, embrace the dirt, and get ready to prep that soil! Your plants will thank you with amazing growth, and you’ll experience the pure joy of gardening in soil that’s truly alive. Happy prepping, and even happier gardening!
FAQ
Q: How often should I test my garden soil?
A: It’s a good idea to test your soil every 2-3 years, or whenever you’re starting a new garden bed or notice issues with plant growth.
Q: Can I use fresh grass clippings as organic matter?
A: It’s best to compost grass clippings first. Adding large amounts of fresh green material directly can tie up nitrogen temporarily as it decomposes. A thin layer used as mulch is usually fine.
Q: What’s the difference between compost and fertilizer?
A: Compost primarily improves soil structure and adds a wide range of nutrients slowly, feeding the soil itself. Fertilizer provides more concentrated, specific nutrients directly to plants. Both are beneficial!
Q: Is tilling always necessary?
A: Not always! Many gardeners practice no-till or minimum-tillage methods, especially after the initial preparation, relying on adding compost to the surface and letting worms do the mixing. This helps preserve soil structure. Tilling is most useful when initially breaking ground or incorporating large amounts of amendments.

